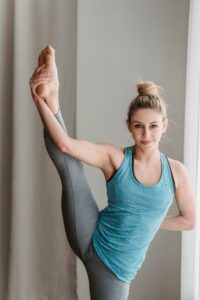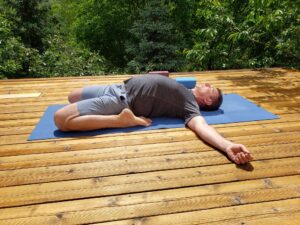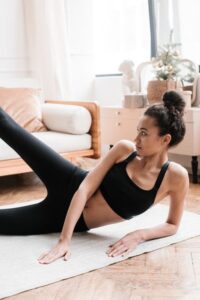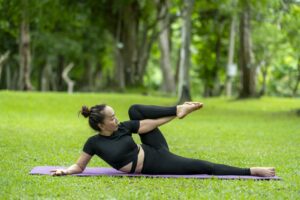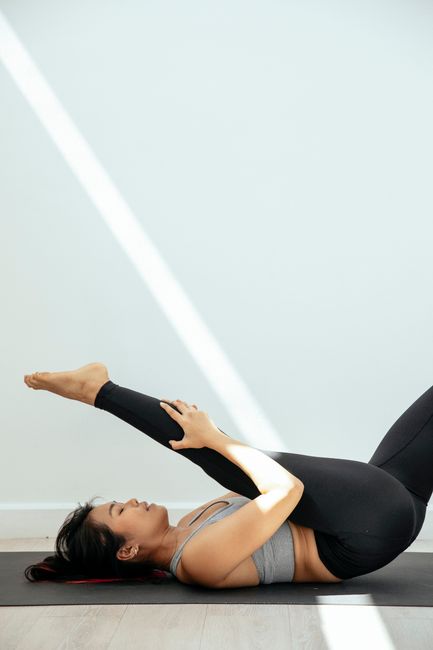
In short: reclining hand-to-big-toe pose is a hamstring stretch done lying on your back. One leg stays long on the floor, the other lifts toward the ceiling, held by the big toe or, for most people, by a strap around the foot. Because the floor supports the back, it is one of the safest ways to stretch the backs of the legs. The same setup continues with the leg opened to the side (II) and taken across the body (III).
If standing and seated forward bends round your back before you feel the hamstrings, this is the pose to learn first. Lying down takes balance and back strain out of the picture, so you can feel what the legs are doing. Below we explain the name, the strap version step by step, the side and cross-body versions, precautions and where it is taught.
About the name
The Sanskrit name is Supta Pādāṅguṣṭhāsana: supta, lying down, pāda, foot, aṅguṣṭha, big toe, and āsana, posture (see what asana means and our Sanskrit pose-name glossary). In Light on Yoga, B.K.S. Iyengar teaches it as one asana done in three movements: the leg up with the chin to the knee, the leg drawn toward the opposite shoulder with the head passing under the arm, and the leg out to the side. Modern classes, including Iyengar teaching syllabi, usually number the simpler versions separately, and the numbers do not always match from school to school. On this page, I is the leg straight up, II is the leg out to the side and III is the leg across the body.
Making it work: the strap version
Begin with the strap; holding the big toe is only useful once the leg can stay straight. Lie with both legs long, bend the right knee toward the chest and loop a strap around the ball of the right foot. Hold one end in each hand and straighten the leg toward the ceiling. Yoga Journal’s main cue is the leg on the floor: press its thigh down and extend through the heel, and keep the natural curve of the lower back rather than flattening it. Raise the lifted leg only as far as the floor leg stays down and the lifted-side buttock stays on the mat; a 60-degree angle is fine to start. Feel the stretch in the belly of the hamstrings, not behind the knee. Yoga Journal suggests about five breaths per side; Light on Yoga holds the head-to-knee stage about 20 seconds.
If the floor leg keeps lifting, press its heel against a wall, as Yoga Journal suggests. If the lifted leg will not straighten, keep a small bend in the knee; a straight leg at 45 degrees teaches more than a bent leg pulled close. The advanced form in Light on Yoga lifts the head and chest to bring the chin to the knee; leave that stage until the basic shape is easy.
Reclining Hand-to-Big-Toe Pose II (leg to the side)
From the leg-up position, hold the strap in the right hand only, put the left hand on the left hip, and on an exhalation lower the right leg out to the right. The important part is the opposite hip: keep the left thigh and the left hip pressed down so the pelvis does not roll with the leg. Stop where that happens, or rest the outer right thigh on a block, which Yoga Journal recommends for stiff hips. This version moves the stretch to the inner thigh. Both Yoga Journal and the Iyengar Yoga (UK) syllabus call it Supta Padangusthasana II; Light on Yoga shows it as the third movement of the full pose (plate 287), with the leg resting on the floor. Inhale to bring the leg back up.
Reclining Hand-to-Big-Toe Pose III (leg across the body)
Change hands so the left hand holds the strap and take the right leg across the midline to the left, a few inches at first. Keep the right side of the waist long by reaching the right hip away from the right shoulder, and keep the right shoulder down; stretch the right arm out at shoulder height. Taking the leg further rolls you onto the left hip and becomes a reclining twist that stretches the outer hip and the side of the leg; a block under the foot helps. Come back slowly, rolling onto the lower back first and letting the leg follow. The numbering here is not settled: Yoga Chicago calls this version III, while the Iyengar Yoga Association of Canada lists it as Parivrtta Supta Padangusthasana (IV) and uses III for a different movement. Ask your teacher which they mean.
Precautions in plain words
Skip or greatly reduce the pose with a recent hamstring tear, which Yoga Journal lists as a contraindication. If you feel pain behind the knee, lower the leg or bend the knee slightly. With a stiff upper back or if the chin tips up, put a folded blanket under the head. Twisting version III asks more of the lower back and sacroiliac joints: move slowly and keep it small if you have back pain. Lying on the back for long is not recommended after the first trimester of pregnancy; keep holds short and follow your health care provider’s advice. This page is general information, not individual advice.
Preparation, what comes next and where it is taught
Yoga Journal lists downward-facing dog, bound angle and standing forward bend as preparation, and standing poses and forward bends as follow-ups. The pose is excellent preparation for seated forward bend, extended hand-to-big-toe pose (the standing version) and side-reclining leg lift. Afterwards, wind-relieving pose or reclining spinal twist settle the back. It is a core pose in Iyengar introductory courses and common in hatha and vinyasa classes, often near the end of the session.