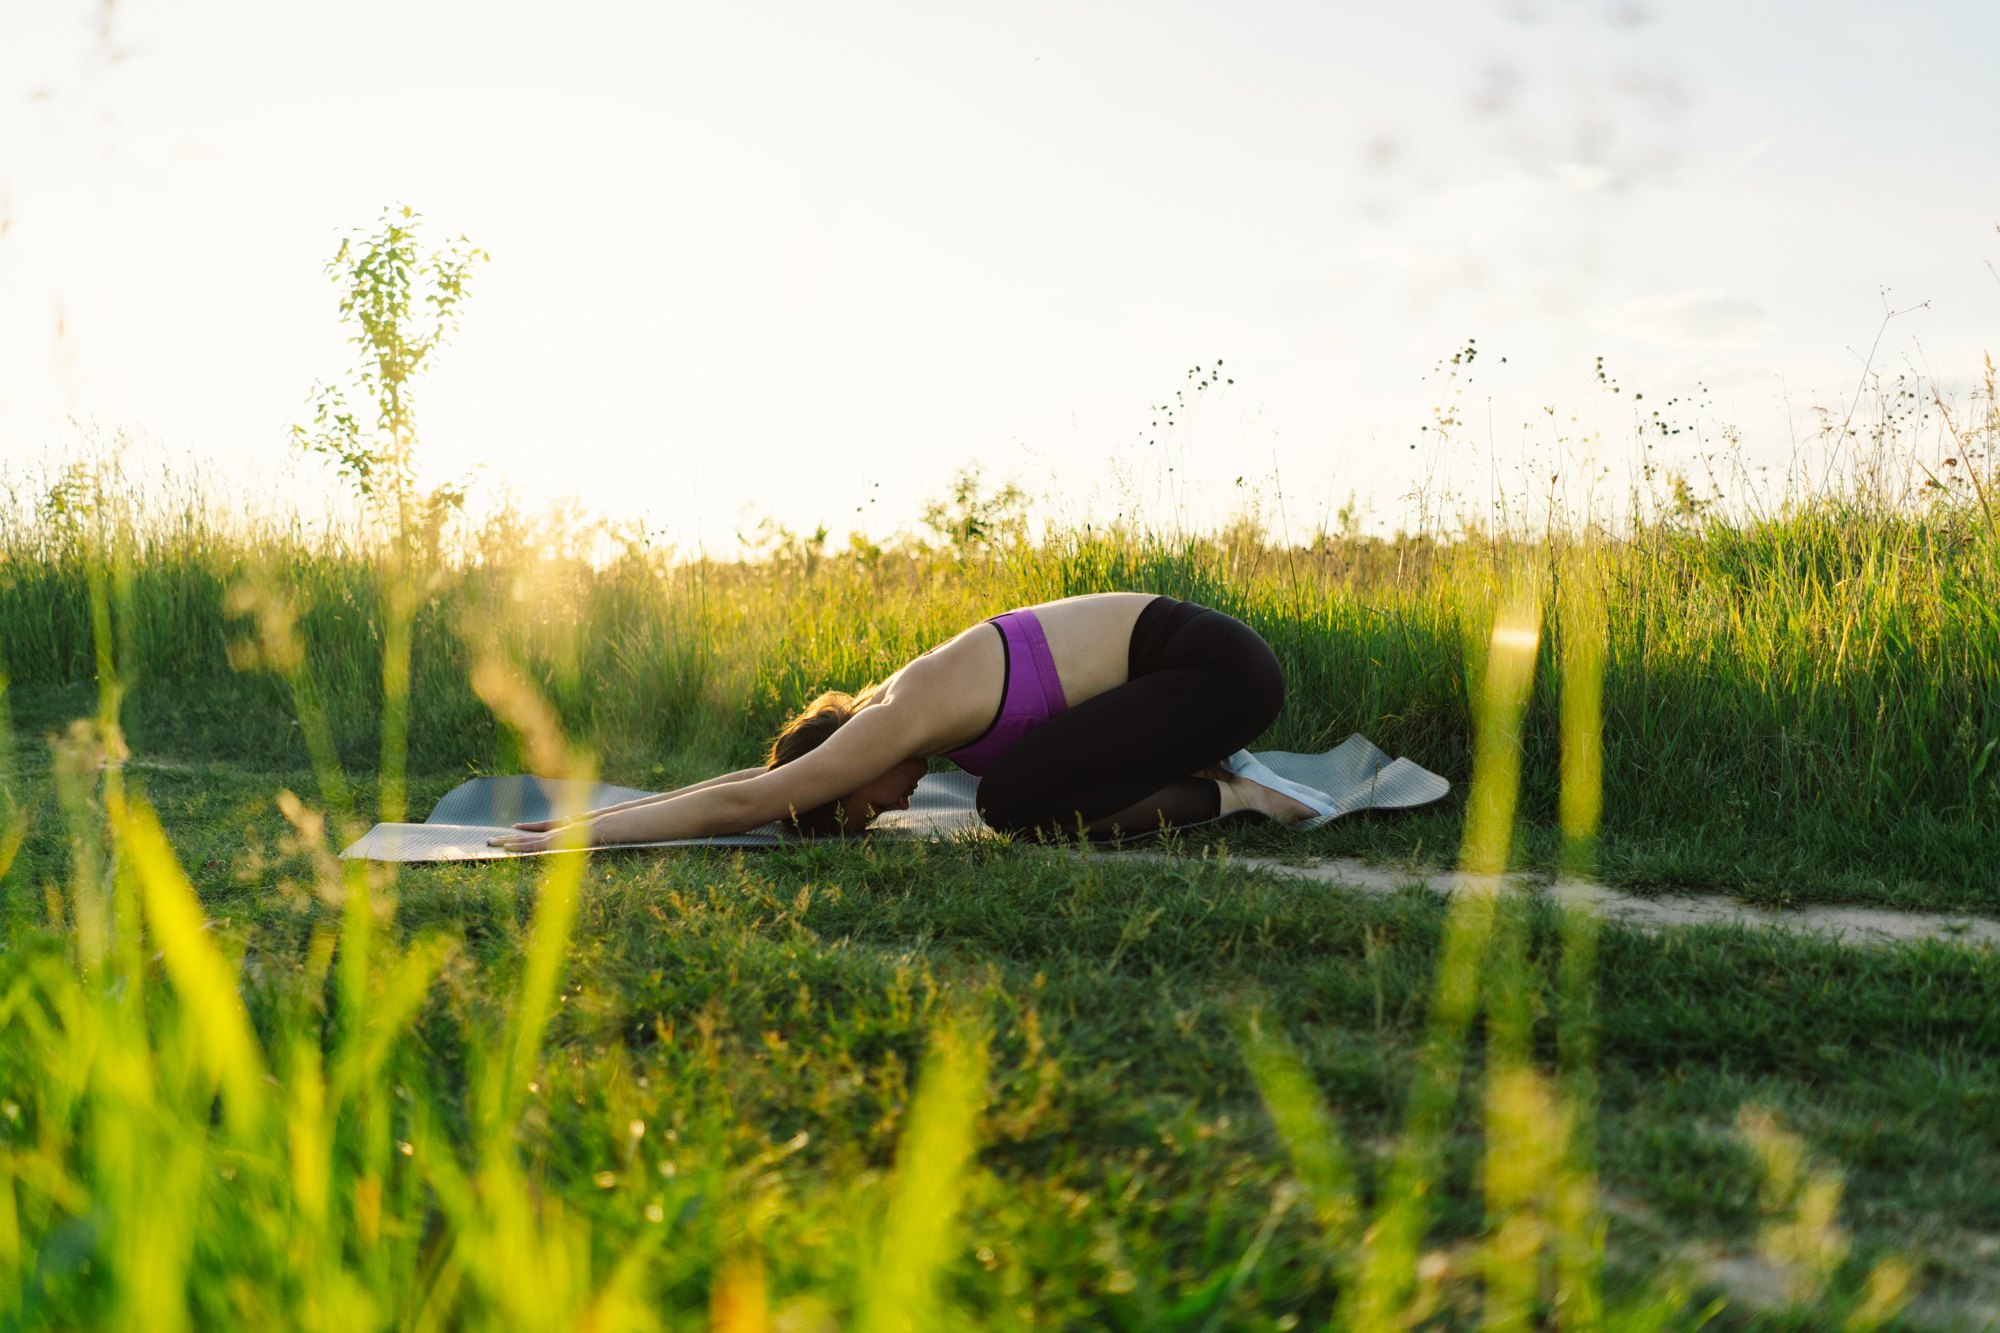



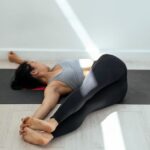
This yin yoga sequence for the hips and spine strings together six yin poses held for several minutes each, with short rests in between: butterfly, dragon, sleeping swan, sphinx, twisted roots and a final rest. It is a newly designed educational sequence by YogaVacation, about 40 to 45 minutes long. Yin yoga has no fixed traditional order; teachers build each class around a target area, and this one targets the hips and the lower back.
Yin names and whose approach this follows
Yin poses carry English names (butterfly, dragon, swan) that are deliberately different from the active yang poses they resemble: butterfly looks like bound angle but is done with a rounded spine and relaxed muscles. The hold lengths follow Bernie Clark, author of The Complete Guide to Yin Yoga, who writes that holds of about three to five minutes are typical and that newcomers can start with one or two minutes. See yin yoga for the background of the style.
How the holds and sides work
Each pose has three parts: find an edge that is clearly felt but never sharp; stay still and let the muscles soften for the hold; then come out slowly and rest for a minute in a neutral shape (lying on the back, or in child’s pose) before the next pose. That pause is called the rebound. Asymmetric poses (dragon, sleeping swan, twisted roots) are done on the right side first, then the left. There are no rounds: one pass through the list is the practice. Breathe naturally; there is no breath count.
The sequence, step by step
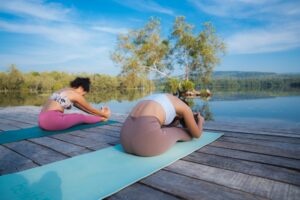
1. Butterfly (three to five minutes). Sit on a folded blanket, bring the soles of the feet together and slide them away from you so the legs make a diamond shape. Fold forward and let the back round, resting the hands on the feet or the floor. Bernie Clark notes that feet further away work more of the hamstrings and back, and feet closer work more of the inner thighs. To come out, push the floor away and roll up slowly, then straighten the legs one at a time. Rest on your back for a minute.
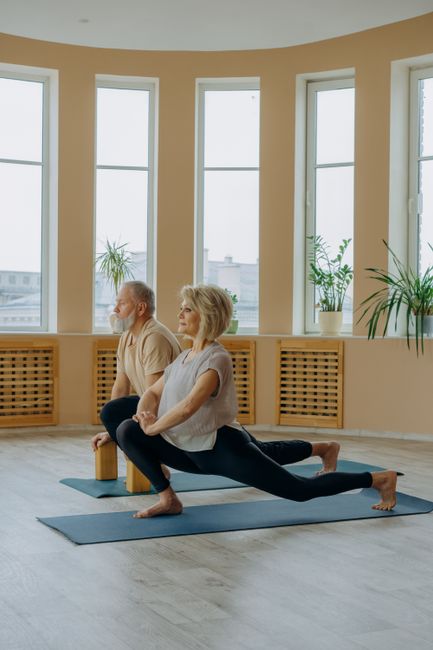
2. Dragon, each side (three minutes). From hands and knees, step one foot forward between the hands and slide the back knee back until you feel the front of the back hip. Pad the back knee with a blanket. Keep the hands on the floor or on blocks; the torso can stay fairly upright. To come out, tuck the back toes and step back, then rest in child’s pose after the second side.
3. Sleeping swan, each side (three minutes). From hands and knees, slide one knee forward behind the wrist with the shin angled across the mat, and slide the back leg away. A blanket under the front hip and a bolster lengthwise under the chest make the fold restful. Clark’s warning is that tight hips push the pressure into the knee; if that happens, bring the front foot back toward the hip, or switch to reclining figure four.
4. Sphinx (three to five minutes). Lie on the belly with the elbows just in front of the shoulders and let the belly drape toward the floor. If the lower back feels too intense, slide the elbows further forward, or simply lie flat on the stomach, which Clark says may be enough of a backbend. Come down by lowering the chest and resting the cheek on the hands, then rest in child’s pose.
5. Twisted roots, each side (three minutes). Lie on your back, cross one thigh over the other and lower both knees to the side, arms out at shoulder height. Clark’s cue is not to push into the twist but to relax and let gravity do the work. A cushion under the knees helps if they float. After both sides, hug the knees to the chest.
6. Final rest (five minutes or more). Lie in corpse pose, with a rolled blanket under the knees if the lower back likes it. After long holds, this rest lets the whole body settle before you get up.
How to practise it safely
- Long holds are not a reason to push. Sharp, burning, electric or joint pain means come out at once; a dull, spreading sensation is what yin aims for.
- Knees: in sleeping swan and dragon, pad the back knee and keep the front shin where the knee feels no twist. Skip sleeping swan with a knee injury and use reclining figure four instead.
- Lower back: in sphinx, lower the elbows forward if the back pinches; skip it with a recent back injury.
- Pregnancy, hypermobility or osteoporosis: ask a qualified teacher or health professional; shorter holds and more support are usually advised.
- Come out slowly: joints can feel stiff after a long hold.
This sequence has not yet been reviewed by a qualified teacher.
Easier alternatives
Shorten every hold to one or two minutes; sit on a cushion or bolster in butterfly; replace sleeping swan with reclining figure four; or try the fully supported restorative sequence, where props take all the weight.