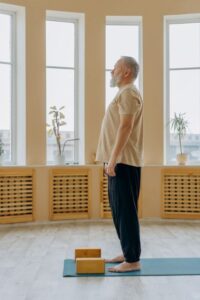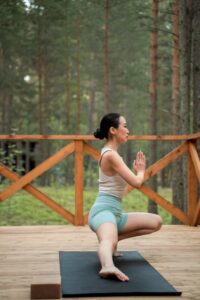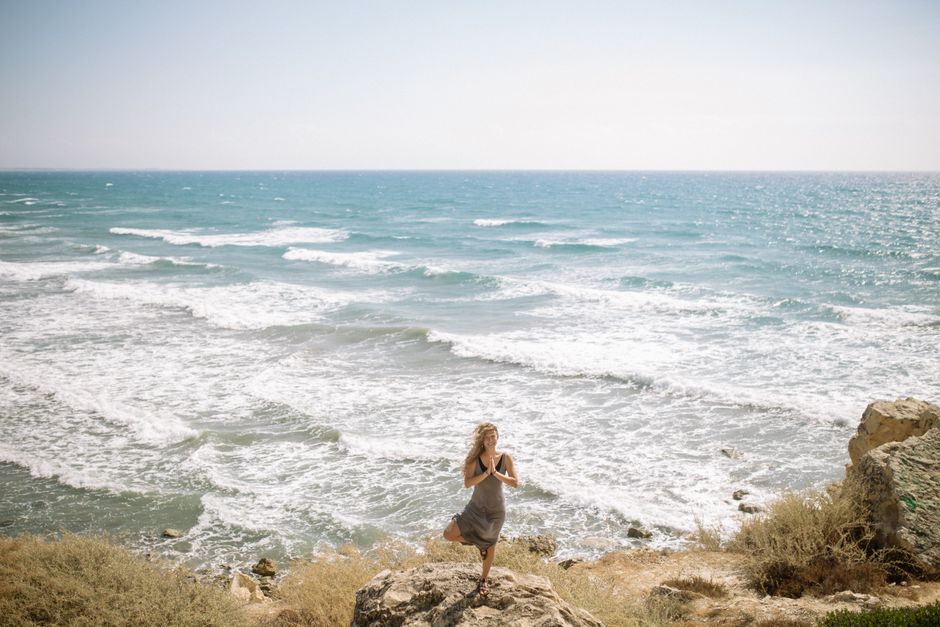
In short: tree pose is a standing balance on one leg, with the sole of the other foot pressed against the inner standing leg and the arms at the chest or overhead. Place the foot above or below the knee, never on it, keep the hips level and use a wall until the balance is steady.
Tree pose is often the first balance people learn, and it stays useful for years: it shows clearly how the standing foot, the hip and the attention work together. It needs no equipment, and a wall or chair makes it available to almost everyone. Below we explain the name, the cues behind the steps, what to watch for and where tree pose sits in a practice.
The name and how traditions teach it
Vṛkṣa means tree and āsana means seat or posture (see asana); you will also see it spelled Vrksasana or Vrikshasana. In B.K.S. Iyengar’s Light on Yoga (1966), Vṛkṣāsana is the second pose of the book: the heel is placed at the root of the opposite thigh, toes pointing down, and the joined palms are raised overhead. Yoga Journal teaches the same shape and adds a lower option, with the foot on the inner shin.
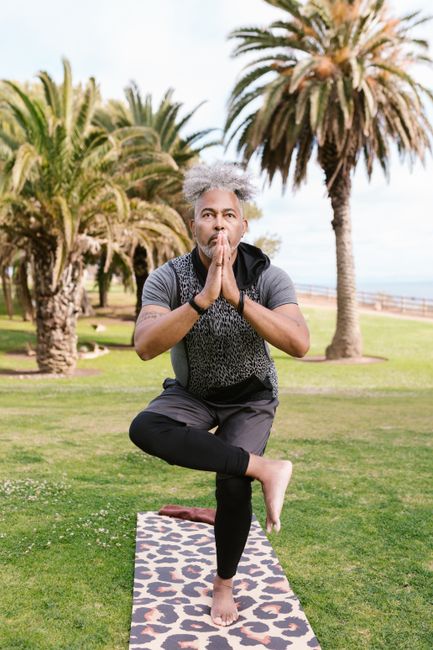
Names shift between schools. The Bihar School of Yoga describes the same leg position with the palms together at the chest under the name Eka Pāda Praṇāmāsana, the one-leg prayer pose. In the Hot Yoga 26+2 series, the posture called Tree Pose is listed as Tadasana and is done with the lifted foot in a half-lotus position on the thigh, which is a different and more demanding shape (see standing half lotus). Most other schools use Tadasana for mountain pose.
Making tree pose steady
Balance starts in the standing foot. Spread the toes and feel the weight across the big-toe mound, the little-toe mound and the heel, then firm the standing thigh without locking the knee back. The lifted foot and the standing leg press into each other with equal force; that mutual pressure, rather than gripping with the toes, is what keeps you upright.
The second key is the pelvis. Yoga Journal notes that if you force the bent knee out to the side when the hip is not ready, the whole pelvis twists with it and pulls you off balance. Keep both hip points facing forward and let the bent knee point a little forward if it needs to. Fix your gaze on one still point at eye level or slightly below. Arms overhead make the pose harder; hands at the chest or on the hips make it easier. Many people find a few quiet breaths in tree pose settling, which is why it is often taught near the start or the end of a class.
Precautions in plain words
Never press the foot into the side of the standing knee; Yoga Journal warns that it can destabilize the joint. Choose the inner thigh or the inner calf and shin instead. If balance is unreliable, because of dizziness, low blood pressure, an inner-ear problem, pregnancy or simply fatigue, practise next to a wall or with a hand on a chair, and stop if you feel faint. People with a recent ankle, knee or hip injury should check with their doctor or physical therapist first. This page is general information, not individual advice.
Preparation and what comes next
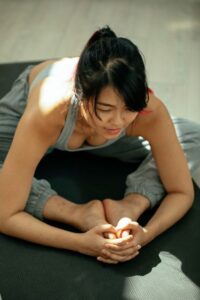
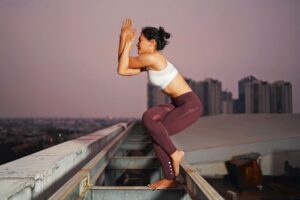
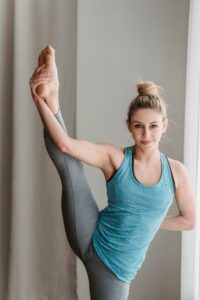
Stand in mountain pose for a few breaths first and notice how your weight sits on your feet. Hip openers such as bound angle pose make the outward turn of the bent leg easier. From tree pose, natural next balances are eagle pose, extended hand-to-big-toe pose and half moon pose.
Where tree pose is taught
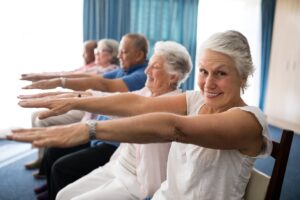
You will meet tree pose in hatha, Iyengar and vinyasa classes, in chair yoga as a seated or chair-supported version, and in the 26+2 hot yoga series in its half-lotus form. Browse other standing balances in the pose library.