Supported Bridge Pose: block or bolster setup for a restful backbend

Supported bridge is the restful version of bridge pose: lying on your back with a block or bolster under the sacrum so the hips stay lifted without effort. Setup, block height, how long to stay and precautions.

Not yet reviewed by a qualified teacher Names and shape checked against 4 sources

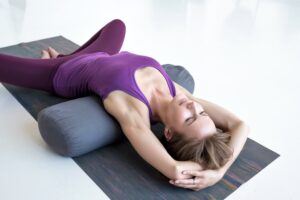
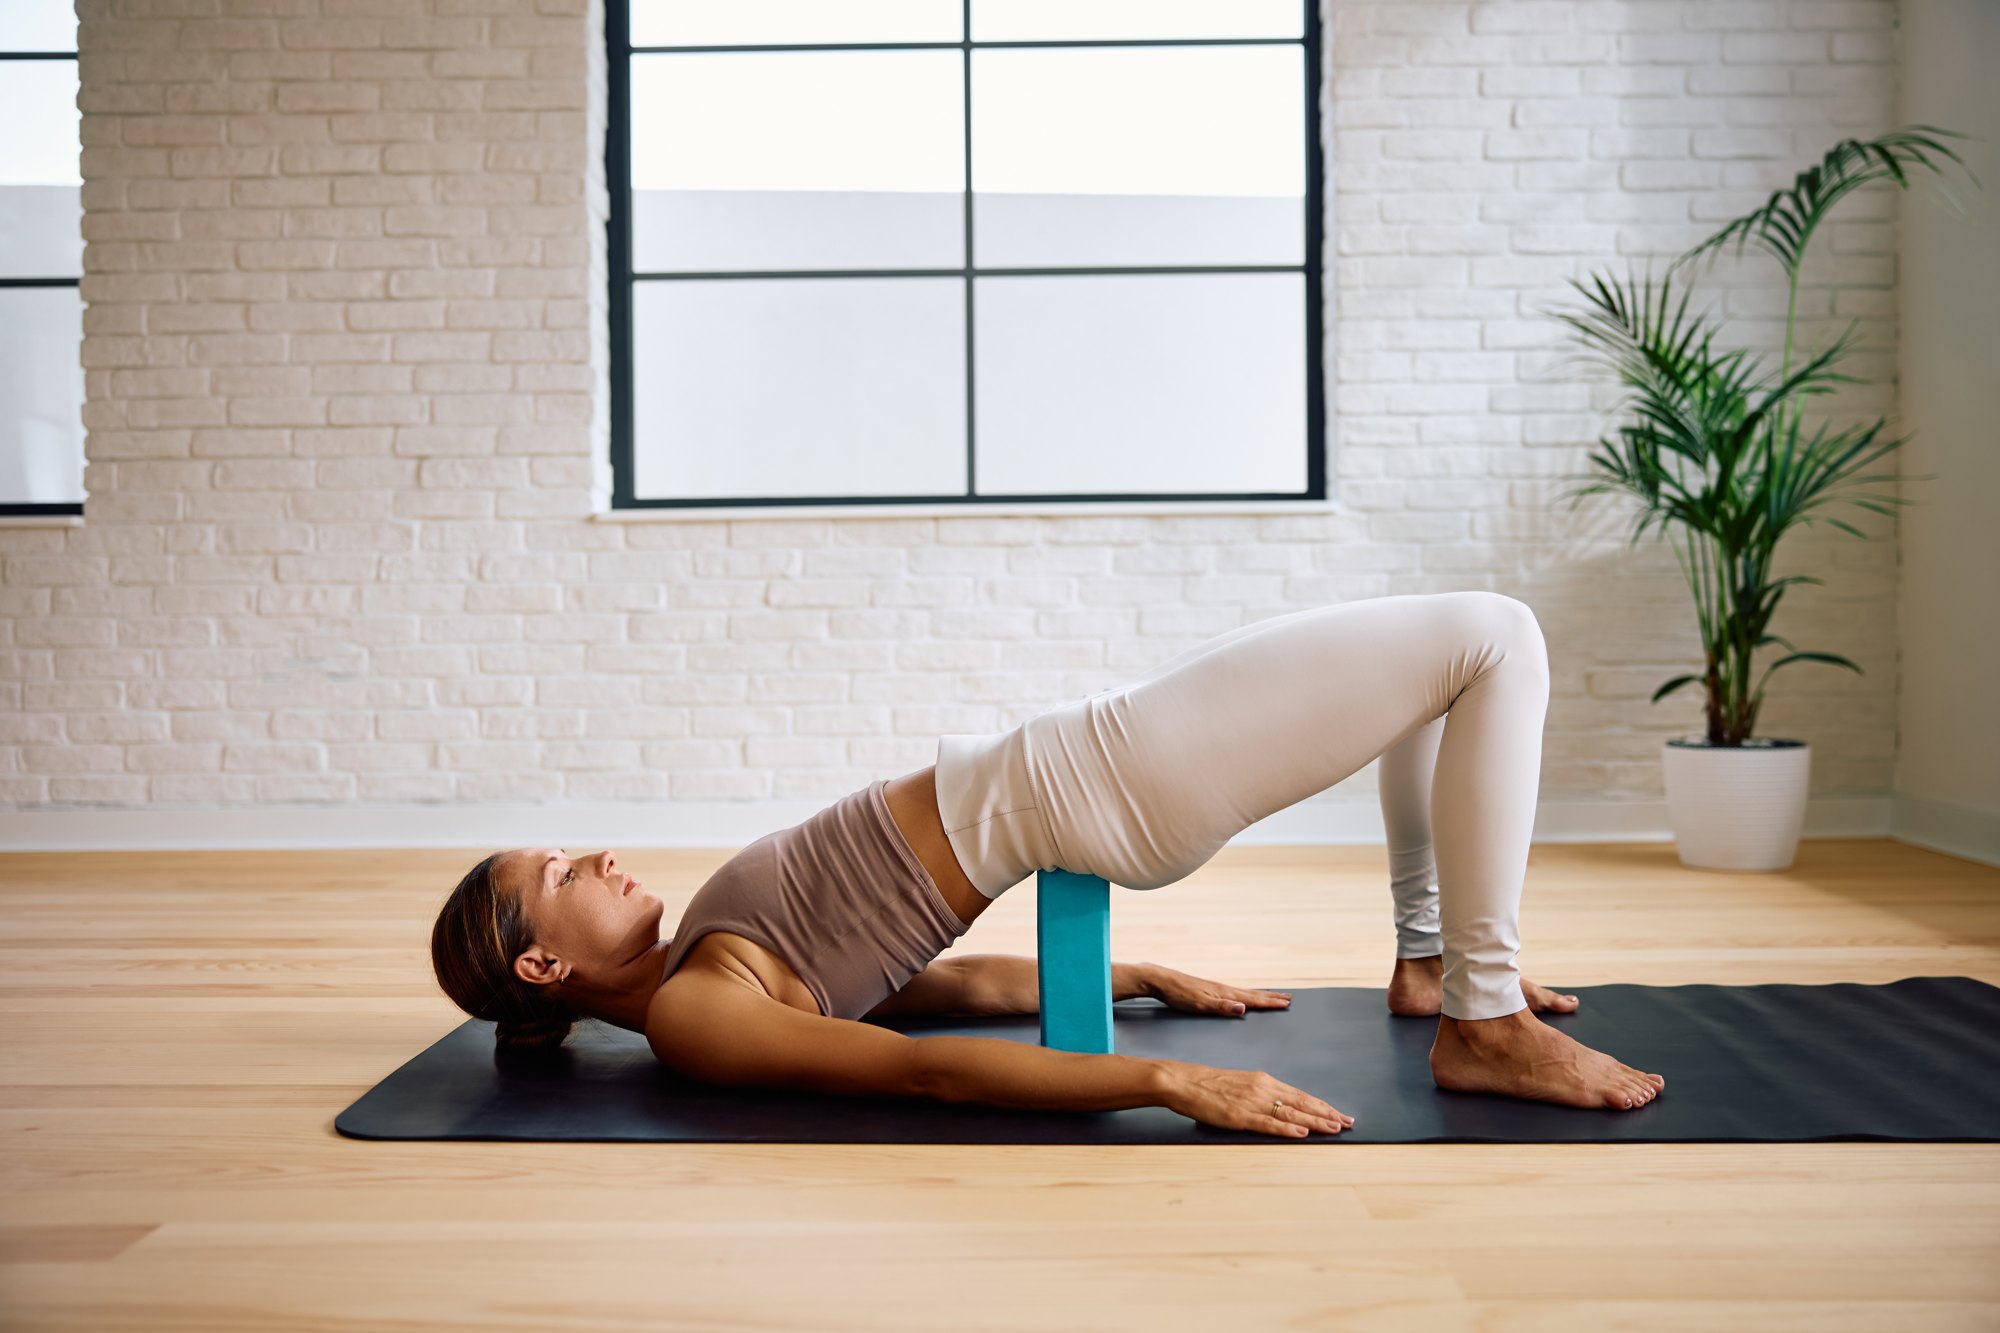
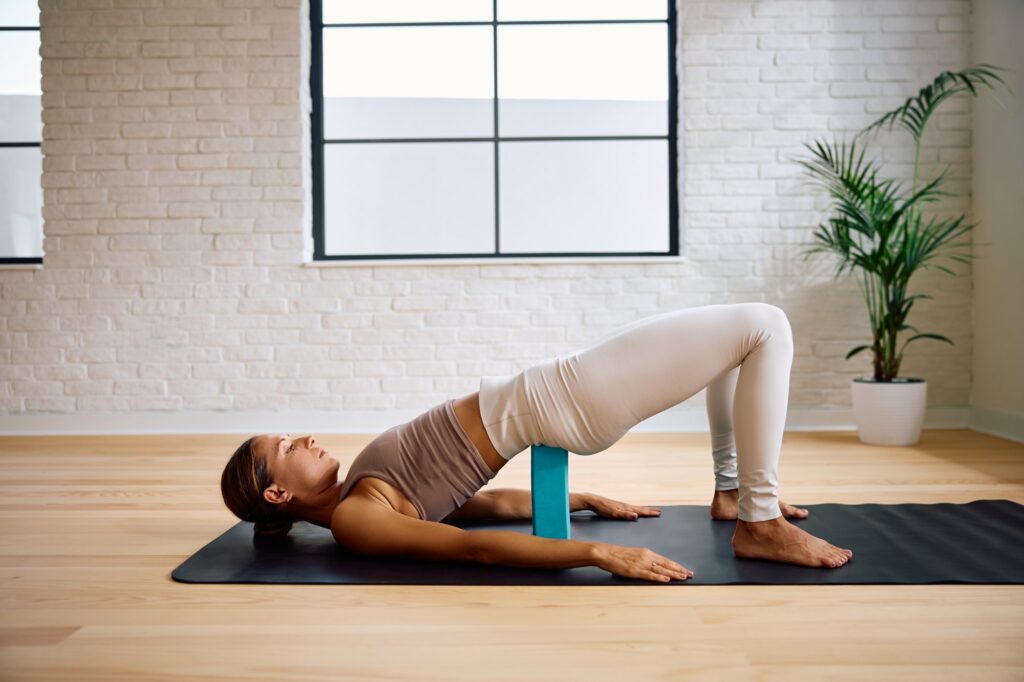
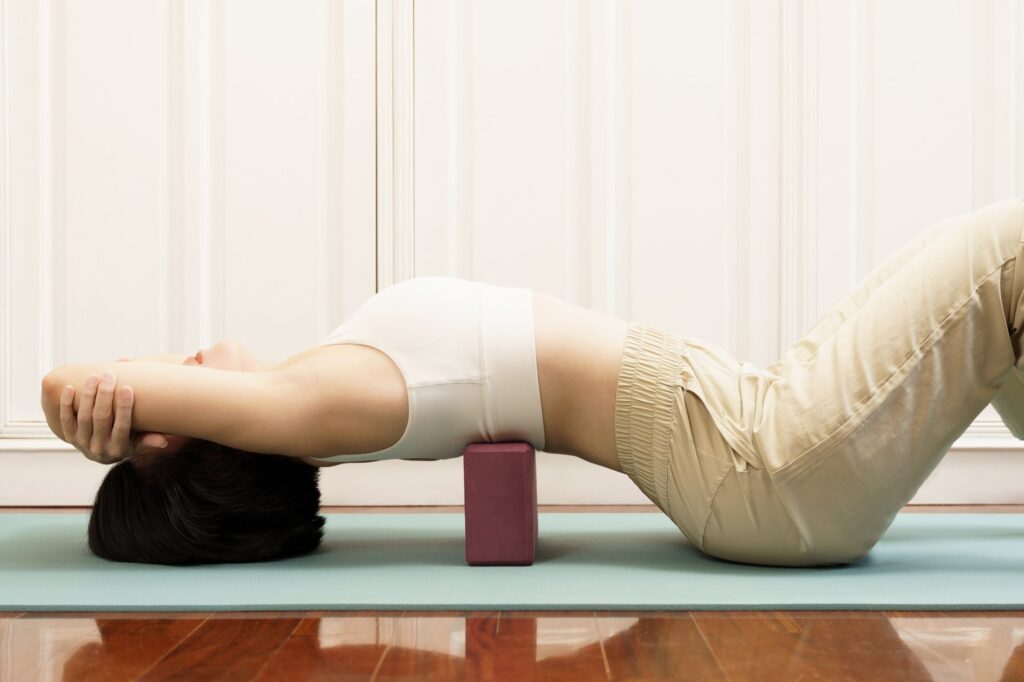
Supported bridge pose with a block in a bright loft
Sanskrit name
No established Sanskrit name: a modern descriptive name
Also called
Block Bridge, Restorative Bridge, Supported Bridge Pose, Bridge Pose with a Block, Salamba Setu Bandha Sarvangasana (modern usage)
Record
Supported adaptation
Variation of
Bridge Pose (Setu Bandha Sarvangasana): steps, names and one-legged bridge
Pose family
Backbend, Resting and restorative, Supine
Starting position
Reclining (on the back)
Movement
Backbend, Neutral rest
Taught in
Hatha Yoga: The Historical Term and the Modern Class, What Is Yin Yoga? Long Holds, Slow Pace and a Typical Class, Vinyasa Yoga: Flow, Breath and What to Expect
Difficulty
Beginner
Prerequisite skills
Lying on the back and lifting the hips briefly to slide a block under the pelvis.
Body areas
Chest, Hips, Spine
Props
Blanket, Block, Bolster, Mat
Practised
Solo

Names in different traditions

TraditionName usedNote
Yoga JournalSupported Bridge PoseVariation on the Bridge Pose page: block at its lowest or medium height under the sacrum, palms up, stay as long as comfortable.
Yoga InternationalBridge, restorative modificationBlock or bolster under the sacrum and pelvis, not under the lower back.
Restorative classes (Yoga Journal, 4 Stretches to De-Stress)Supported Bridge (Setu Bandha Sarvangasana)Block or bolster under the sacrum, 8 to 10 minutes or as long as comfortable.

Step by step

Coming into the pose

  1. Lie on your back with the knees bent, feet flat and hip-width apart, heels a comfortable distance from the buttocks. Keep a block within reach.
  2. Press into the feet and lift the hips. Slide the block under the sacrum, the flat bony area at the back of the pelvis, at its lowest or middle height.
  3. Lower the pelvis onto the block and let it take your weight. Adjust it so it sits under the sacrum, not under the lower back.

In the pose

  1. Rest the arms by the sides, palms up. Let the shoulders, head and feet settle and the front of the hips soften.
  2. Stay for a few minutes, or up to 8 to 10 minutes in a restorative practice, as long as it stays comfortable.

Coming out

  1. Press into the feet, lift the hips, slide the block out and lower the back slowly. Hug the knees in or rest flat for a few breaths.

Breathing

Breathe slowly and naturally; there is nothing to hold. Many people like to lengthen the exhalation a little as the body settles onto the block.

Alignment cues

  • Block under the sacrum, never under the lumbar spine.
  • Feet hip-width and parallel, knees pointing up.
  • Shoulders and the back of the head rest on the floor; the neck is not pressed flat or arched.
  • Start with the block low; height is not the goal.

Common alignment errors

  • Placing the block under the lower back so the spine bends over it.
  • Starting with the tallest block height.
  • Letting the knees fall in or out so the legs keep working.
  • Rolling off sideways instead of lifting the hips to remove the block.

Modifications and easier variations

  • Use a folded blanket or a bolster laid across the mat instead of a block for a lower, softer lift. blanket
  • Straighten the legs one at a time along the floor for more stretch at the front of the hips, if the back is comfortable. block

Advanced variations

Props and chair adaptations

  • Bolster across the mat under the pelvis: a broad, very low support for long holds. bolster
  • Strap looped around the thighs so the knees stay hip-width without effort. strap
  • No true chair version; for a seated alternative, sit at the front of a chair and lean back gently with the hands on the seat behind you to open the chest. chair

Precautions

  • Lower back pain or sacroiliac discomfort: keep the block low, or use a folded blanket.
  • Neck injury: keep the block low so the weight stays on the shoulders, not the neck; skip the pose if it presses the neck.
  • Pregnancy after the first trimester: keep it short or choose a side-lying rest, since long periods lying flat on the back are not recommended.
  • Come out if you feel pinching in the lower back or tingling in the legs.

Learn it with a teacher: Safe to practise on your own once you know where the sacrum is. A teacher can check the block placement the first time.

General information, not medical advice. Poses do not cure illness. If you are pregnant, injured or have a health condition, check with your doctor and tell your teacher before you practise.

In short: supported bridge is bridge pose with the work taken out. You lie on your back with the knees bent, lift the hips and slide a block or bolster under the sacrum, then let the prop hold you. The front of the hips and the chest open gently while the legs, buttocks and back rest. It is one of the most common poses in restorative classes and a calm way to end a practice.

It is a supported adaptation of bridge pose, not a separate classical posture. It earns its own page because the setup, the holds and the reasons for doing it are different: in the active pose you lift yourself; here you set up once and then do nothing for several minutes.

The name

Supported Bridge Pose, block bridge and restorative bridge are modern descriptive names. You may hear “Salamba Setu Bandha Sarvangasana” in some classes; sālamba means supported, but we have not found that full name in two primary sources, so we list it only as modern usage. The Sanskrit Setu Bandha Sarvāṅgāsana belongs to the active bridge pose, and in B.K.S. Iyengar’s Light on Yoga it names a stronger version entered from shoulderstand.

How to make it work

Placement is everything. Feel for the sacrum, the flat triangle of bone at the back of the pelvis just above the tailbone, and put the block there. Yoga International is clear that the support goes under the sacrum and pelvis, not under the lower back; if the block sits too high the lower spine bends over it and soon complains. Yoga Journal suggests starting with the block at its lowest or medium height, with a blanket over it for padding if you like.

Once the block is in place, let go. Keep the feet hip-width apart and the knees pointing up, turn the palms up and let the shoulders spread on the floor. A strap around the thighs saves the legs from holding the knees in place. Stay for a few minutes in a regular class; Yoga Journal’s restorative sequence suggests 8 to 10 minutes, or as long as it feels comfortable. For a little more stretch at the front of the hips, slide one leg long and then the other, as long as the lower back is happy. To come out, always lift the hips, slide the block away and lower the spine slowly.

Setting up, step by step

Have the block next to your hip before you lie down, so you do not have to hunt for it with your hips in the air. Lie on your back, bend the knees and set the feet flat, about hip-width apart. Press into the feet, lift the hips and slide the block under the sacrum, then lower your weight onto it. Yoga Journal’s teaching note is to experiment with the height: start low, and only turn the block up a level if the low setting feels like too little. If the knees keep drifting apart or falling in, loop a strap around the thighs so the knees stay about hip-distance apart, and let the strap do the holding.

Keep the head still and look straight up at the ceiling rather than turning the head to one side; Yoga Journal gives this cue for every version of bridge, because turning the head with weight on the shoulders strains the neck. Let the breath slow down on its own.

Where it fits in a practice

Because the hips rest higher than the chest, Yoga Journal notes that bridge shares some of the qualities of an inversion and can be used instead of headstand or shoulderstand. The supported version is the gentlest way to use it like that, which is why it often appears near the end of a class, after the active poses and before the final rest.

Precautions in plain words

For most people this is a gentle pose. If the lower back or the sacroiliac joints are sensitive, keep the block low or use a folded blanket. The weight should rest on the shoulders, not on the neck; with a neck injury, keep the lift small or skip it. After the first trimester of pregnancy, keep it short or choose a side-lying rest, because lying flat on the back for long periods is not recommended (ACOG). Come out at once if you feel pinching in the lower back or tingling in the legs. This page is general information, not individual advice.

Before, after and where it is taught

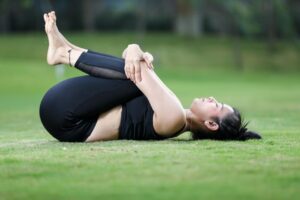
Hugging the knees in wind-relieving pose is a good way to arrive on the back and also a natural counterpose afterwards. Supported bridge sits well next to supported fish, reclining bound angle and legs up the wall in a restorative sequence, and before corpse pose at the end of any class. You will meet it in restorative, gentle hatha, Iyengar-style and yin classes. A slow breath, as in our diaphragmatic breathing guide, suits it well.
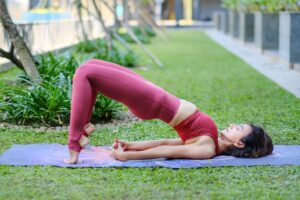
Preparatory poses

Follow-up poses and transitions

Counterposes

Main pose

Related poses

More backbend poses

Frequently asked questions

Where exactly does the block go in supported bridge?

Under the sacrum, the flat bony part at the back of the pelvis, not under the lower back. Yoga International stresses the pelvis, not the lumbar spine.

How long can I stay in supported bridge?

As long as it is comfortable. Yoga Journal suggests 8 to 10 minutes in a restful practice; a few minutes is fine in a regular class.

Which block height should I use?

Start at the lowest or middle height, as Yoga Journal suggests. Go higher only if it stays comfortable in the lower back.

Sources

  1. Bridge Pose: How to Practice Setu Bandha Sarvangasana (Supported Bridge Pose variation), Yoga Journal (accessed October 6, 2026)
  2. Bridge (modifications: block or bolster under the sacrum), Yoga International (accessed October 6, 2026)
  3. 4 Stretches to De-Stress and Feel Your Best (Supported Fish, Supported Bridge), Yoga Journal (accessed October 6, 2026)
  4. Exercise During Pregnancy (FAQ), American College of Obstetricians and Gynecologists (accessed October 6, 2026)

Facts checked on October 6, 2026