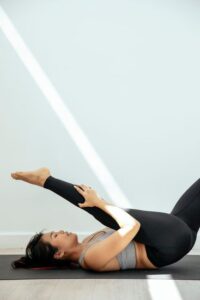
In short: Urdhva Prasarita Padasana, upward extended legs, is a supine leg raise done in stages: lying on your back with the arms stretched overhead on the floor, you lift the straight legs to 30 degrees, then 60, then 90, holding each stage with normal breathing, and lower slowly. It works the abdominal muscles and hip flexors and teaches you to keep the lower back steady. Rest between stages if needed.
This is the version of the leg raise described in B.K.S. Iyengar’s Light on Yoga, where it is rated among the simplest poses and appears in the book’s practice courses. The arms overhead change it from an ordinary leg lift: the front of the body is longer, so the abdominal muscles have to work harder to stop the lower back from arching.
The name
Ūrdhva means upward, prasārita extended or stretched out and pāda foot or leg: the legs extended upward. The name and stages come from Light on Yoga (1966). Do not confuse it with raised legs pose, the Common Yoga Protocol’s Uttanapadasana, which holds both legs at 30 degrees with the arms by the sides; or with Light on Yoga‘s own Uttana Padasana, a fish-like backbend with the legs raised. Iyengar describes all three positions of this pose as one sequence, repeated three or four times.
How to make it work
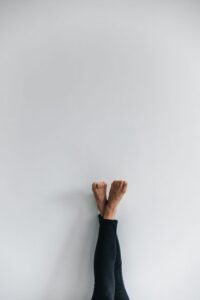
Lie flat with the legs straight and the knees firm. On an exhale, take the arms over the head and stretch them along the floor; take two breaths. Exhaling, lift the legs to 30 degrees and hold 15 to 20 seconds; exhaling again, take them to 60 degrees and hold 15 to 20 seconds; then exhale them up to vertical and hold 30 to 60 seconds, always with normal breathing. Lower slowly on an exhale. Light on Yoga allows doing the three positions separately, resting in between, if one continuous sequence is too much. The thing to watch is the lower back: if it lifts away from the floor at the 30-degree stage, bend the knees, raise one leg at a time or skip the lowest stage.
Yoga Journal teaches the same pose, under the same name, as a slow movement rather than a series of holds: the straight legs swing down from vertical toward the floor on an exhale and back up, stopping before the lower back arches, with the arms by the sides or, for more challenge, overhead along the floor. Its writer, Richard Rosen, suggests practising first with the buttocks a little way from a wall so the heels meet the wall on the way down, and starting with four to six repetitions. Both approaches work the same muscles; choose the one your teacher uses.
Why the stages matter
The lower the legs, the longer the lever and the harder the abdominal muscles must work to keep the pelvis from tipping and the lower back from arching. That is why the 30-degree stage is the most demanding and the vertical stage the easiest to hold for strength, though the hardest for tight hamstrings. Working through all three in one breath-led sequence, as Light on Yoga describes, trains control across the whole range. If one stage is clearly beyond you, practise only the stages you can hold with a steady back, and add the others gradually.
Precautions in plain words
Low straight-leg holds load the lower back. With back pain, keep the knees bent or work one leg at a time; with high blood pressure, do not hold the breath. Avoid it in pregnancy and after abdominal surgery, and take care with hernia or diastasis recti; ask your health care provider. Tight hamstrings make the 90-degree stage hard to reach with straight knees; a slight bend is fine. This page is general information, not individual advice.
Preparation and what comes next
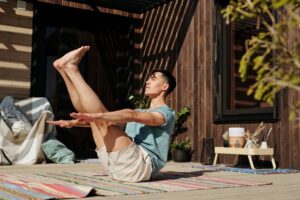
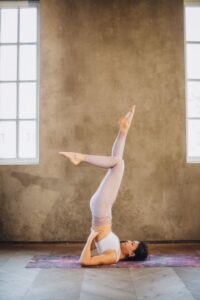
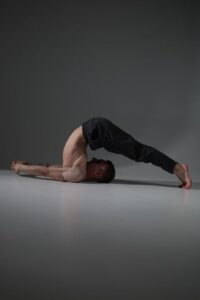
Begin with single-leg raises and raised legs pose; reclining hand-to-big-toe pose prepares the hamstrings for the vertical stage. From here, abdominal strength carries into boat pose and into lifting the legs for shoulderstand and plow. Release afterward with the knees to the chest in wind-relieving pose.
Where it is taught
Mainly in Iyengar classes and the hatha classes influenced by them, usually in the supine section before inversions. Browse more floor and core poses in the pose library.