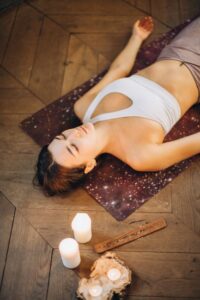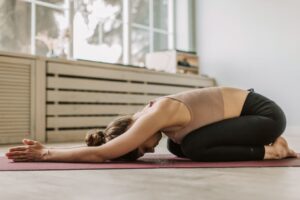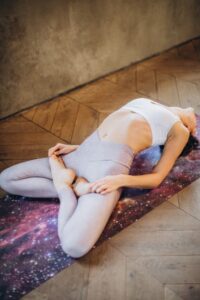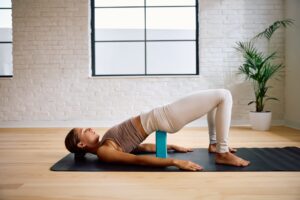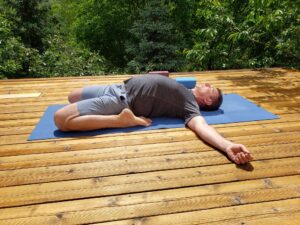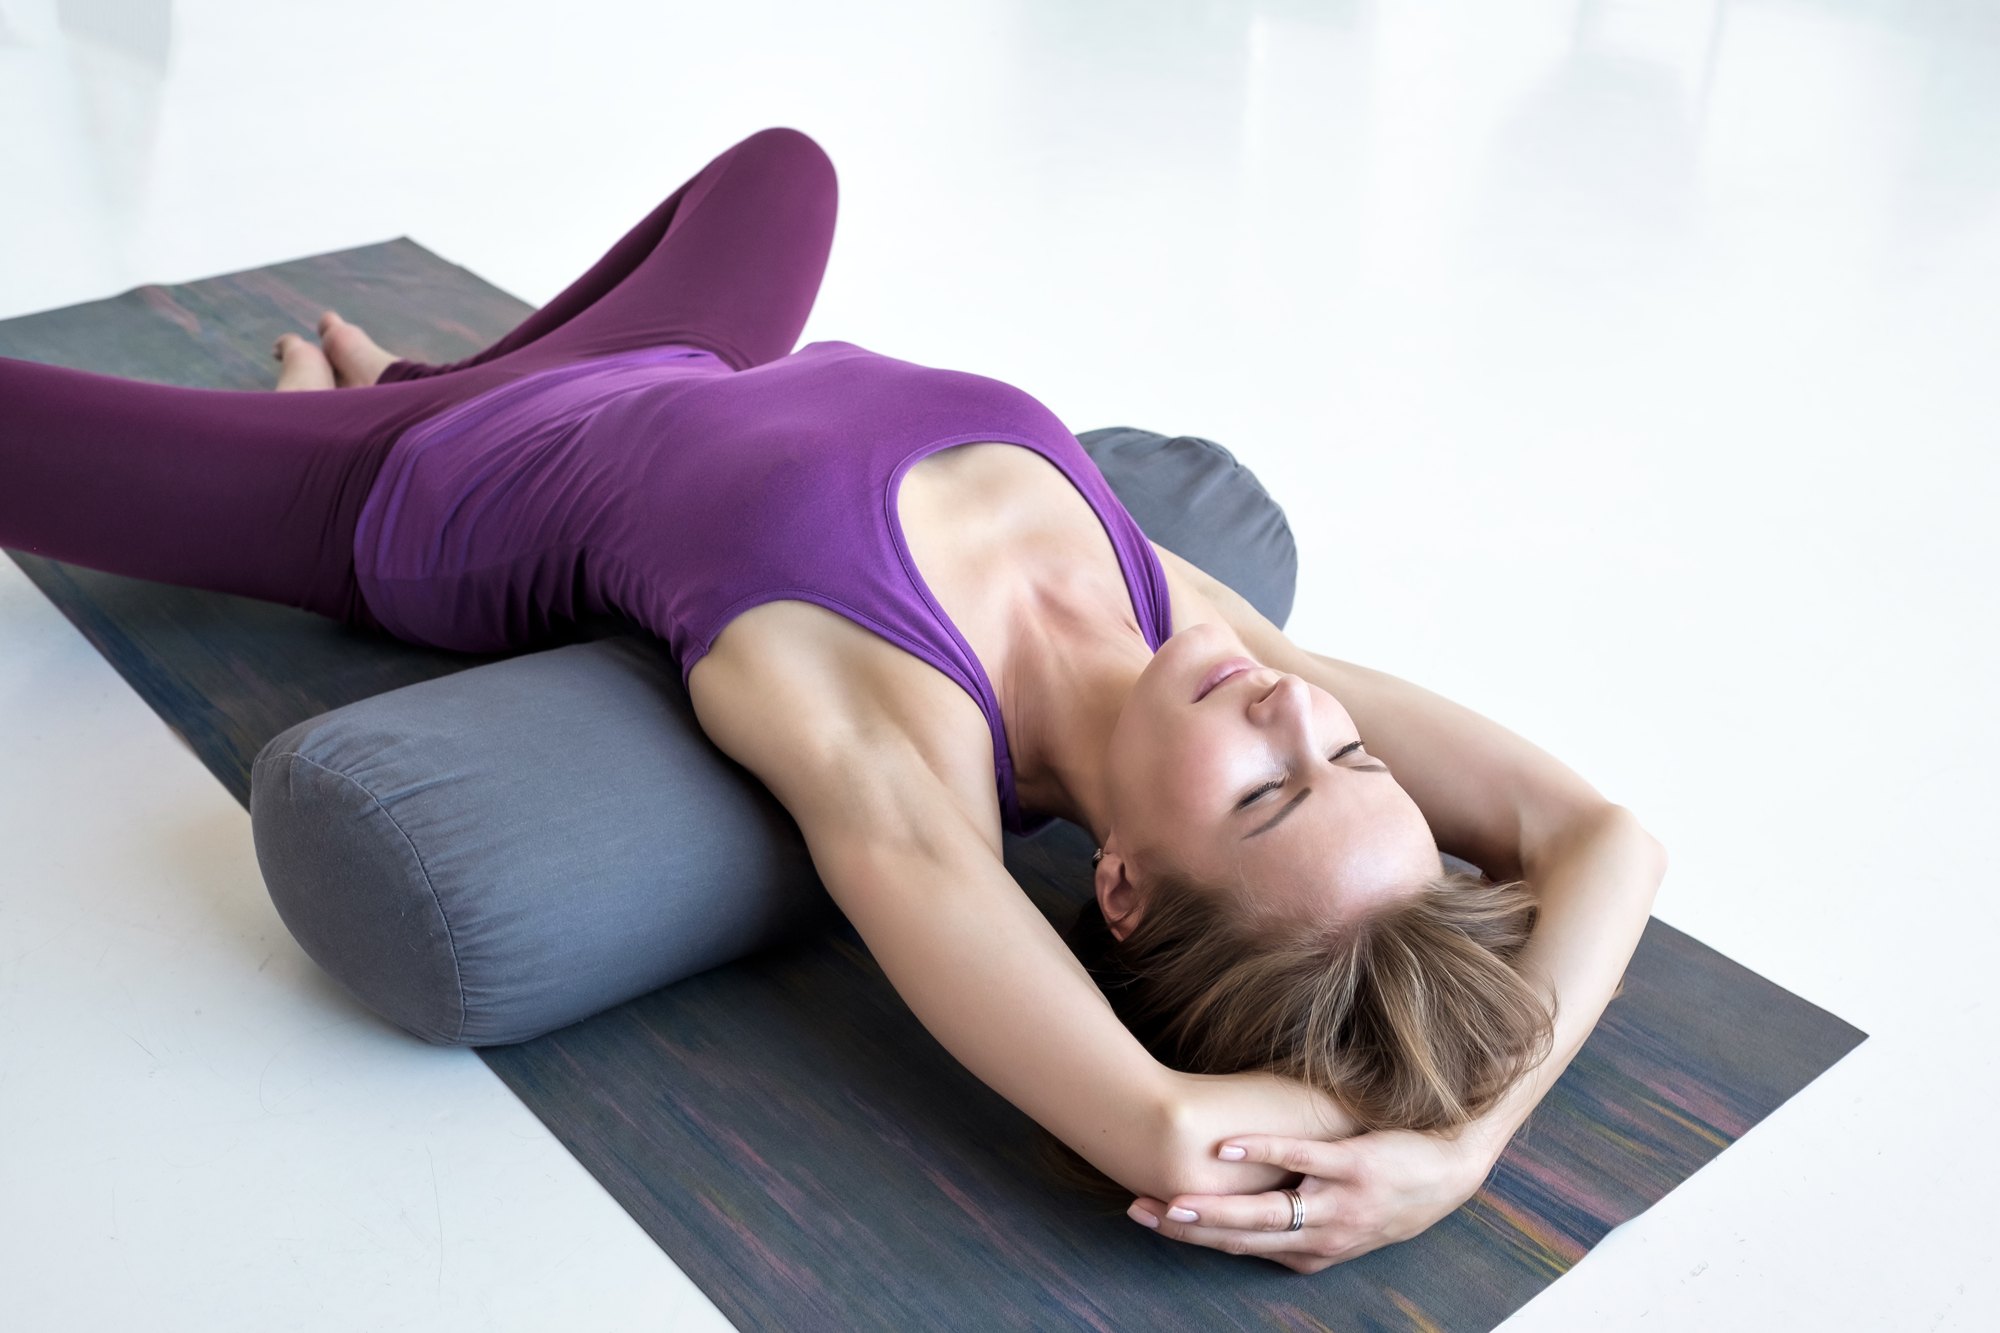
In short: supported fish is lying back over a block, bolster or rolled blanket placed under the shoulder blades, with the head resting on its own support. The chest opens and the shoulders drape to the sides while the body rests. It is a gentle, modern restorative setup, very different from the active fish pose it is named after.
This page covers the three usual setups, how to choose a height, how long to stay and who should take care. It is a supported adaptation of fish pose, with its own page because the props and the way you practise it are its own.
The name
Supported fish, bolster fish and supported heart opener are modern descriptive names, borrowed from Matsyāsana, fish pose. You may hear “Salamba Matsyasana” in some classes (sālamba, supported), but we have not found it in two primary sources, so we list it only as modern usage. In classical fish pose the chest is lifted actively and, in some versions, the crown of the head touches the floor; in the supported version nothing is held up by muscle and the head never hangs back.
Three ways to set it up
Two blocks. Cyndi Lee, writing in Yoga Journal, places two blocks where the head and the shoulder blades will rest. The shoulder-blade block should not touch the ribs below the shoulder blades. If the neck feels compressed, set both blocks at the same height so the head is not lower than the chest. Lower yourself from a seated position onto the blocks and let the feet fall apart.
Bolster. Lay a bolster lengthwise along the mat and lie back on it so it supports the space between the low or middle back and the bottom of the shoulder blades, with the head on a block or folded blanket, as in Yoga International’s restorative sequence, where it is held for about 5 minutes. Yoga Journal’s de-stress sequence suggests 8 to 10 minutes, or as long as it is comfortable.
Rolled blanket. For the softest version, fold a blanket lengthwise, roll it a couple of turns and lie with the roll along the lower edges of the shoulder blades and the head on the flat part. If the lower back is tight in any setup, bend the knees with the feet a little wider than the hips and let the knees rest together.
Settling in, staying and coming out
How you lie down matters as much as the props. Cyndi Lee’s method is to sit in staff pose with the props behind you and lower yourself slowly, checking that the block stays under the shoulder blades. Once you are down, rest the arms alongside the body with the palms up and let the shoulders drape off the support. Then relax the face, throat and jaw. Yoga International offers two other arm positions: hands resting on the belly, or, for more stretch, arms overhead on the floor with the palms up.
Treat the height of the head support as something to adjust, not a fixed rule. A lower head block gives more stretch to the front of the neck and chest; a higher one is gentler. Change one thing at a time and stay with the setup that lets you breathe slowly and forget about your neck.
To come out, Yoga International’s sequence bends the knees with the feet on the mat if the legs were straight, lets both knees fall to one side and rolls onto that side, then presses up to sitting with the top hand. Resting on your side for a breath or two before you sit up is a good habit after any long restorative hold.
The same sequence also includes a side-lying version, supported side fish: a bolster across the mat under the side of the rib cage, the head on a block, knees and hips stacked and bent. It is held about 5 minutes on each side, and the upper side of the ribs opens with each inhalation. It is a useful option for anyone who prefers not to lie on the back.
Precautions in plain words
The neck is the main thing to watch: keep the head supported level with or a little above the chest. With a sensitive lower back, bend the knees and use a lower support. After the first trimester of pregnancy, keep it short and well propped, or rest on your side, because lying flat on the back for long periods is not recommended (ACOG). If the hands tingle or the shoulders ache, bring the arms closer to the body. Roll to the side to come out. This page is general information, not individual advice.
Before, after and where it is taught
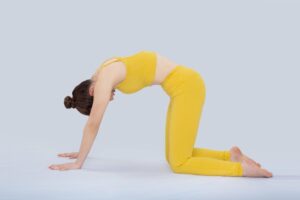
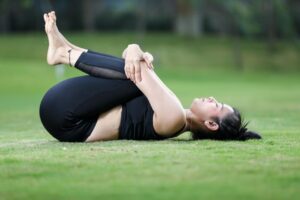
A few rounds of cat-cow warm the spine first. Afterwards, hug the knees in with wind-relieving pose or rest in child’s pose. In a restorative sequence it pairs with supported bridge and reclining bound angle; in yin classes it is often used after melting heart. It is also a calm place to practise diaphragmatic breathing.