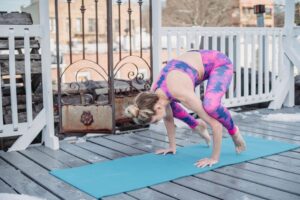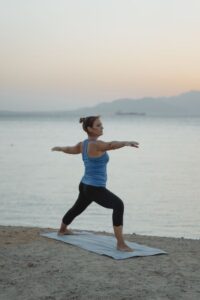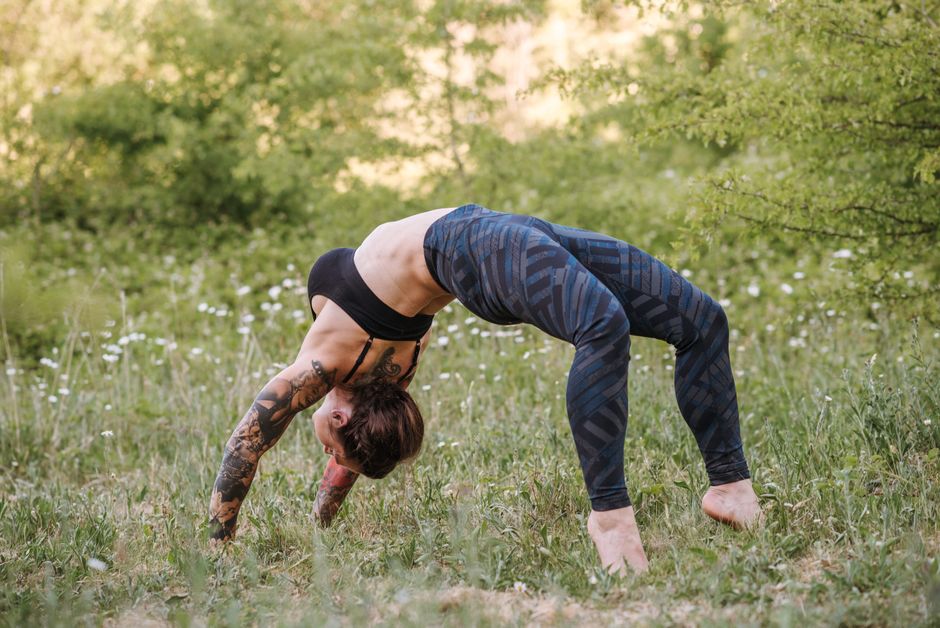
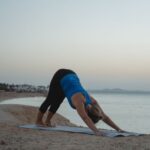
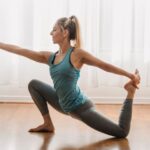
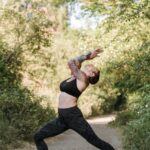

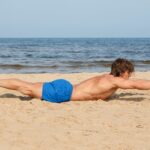
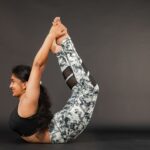
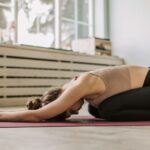
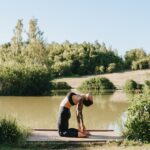
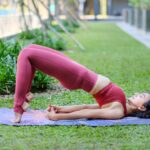
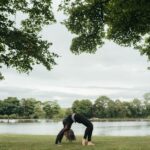
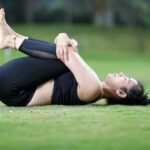
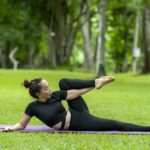
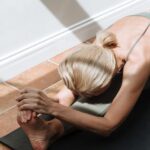

This wheel pose preparation sequence leads up to wheel (Urdhva Dhanurasana), the full backbend in which hands and feet press into the floor and the whole body arches up. It opens the front of the hips, the chest and the shoulders, strengthens the legs and back, rehearses the shape in bridge, and finishes with counterposes that bring the spine back to neutral. It is a newly designed educational peak-pose sequence by YogaVacation, about 30 minutes long. There is no traditional wheel preparation order.
How the sequence is built
Wheel asks for open hip flexors, mobile shoulders that lift the arms fully overhead, and strong legs and arms to press up. Backbends are safest when the body is warm and when they grow gradually: low lunge and high lunge open the hips; cobra, locust and bow work the back muscles; camel or bridge rehearse the shape with less load; then wheel is tried once to three times. The counterposes at the end (knees to chest, a gentle twist, a seated forward bend) are part of the sequence, not optional.
The order follows what the main references say about backbends, even though no school prints this exact list. Yoga Journal’s wheel page says to practice wheel at the end of class once the back of the body is warm, not to skimp on the gentler backbends first, and to follow it with forward bends. Its suggested preparation poses include cobra, bridge, locust and bow, and its counterposes include seated forward bend and child’s pose. The Bihar School manual Asana Pranayama Mudra Bandha says its wheel (Chakrasana) should be practiced only after the earlier and intermediate backbends are mastered, and suggests easier poses such as bridge as preparation.
How the counting and sides work
Only the lunges have sides: do the right leg forward first, then the left, with the same number of breaths. Every backbend is symmetrical. The holds on this page are counted in breaths and are our suggestions, so slow them down or shorten them as you need. For wheel itself, the sources give different numbers. Light on Yoga (B.K.S. Iyengar) holds it for half a minute to a minute with normal breathing. The Bihar manual says up to three rounds. In the Ashtanga primary series, AshtangaYoga.info gives five breaths, repeated three to five times. Our page asks for one to three tries of three to five breaths, with rest in between, which sits inside those ranges.
Pressing up: the cues that matter
Yoga Journal’s instructions are a good checklist. Lie on your back with the feet hip-width apart and parallel, right under the knees. Place the hands beside the ears, fingers pointing toward the shoulders. On an exhale, lift the hips and come onto the crown of the head without putting weight on it. Draw the elbows toward each other, then press into the hands and feet as you inhale and lift. Keep the feet from turning out. To come down, tuck the chin and lower the whole back to the floor, not onto the head. If the knees splay, Yoga Journal suggests a strap around the thighs just above the knees and a block between the feet. Practice on a mat that does not slide; the Bihar manual warns against a blanket, which may slip.
How to practise it safely
- Wheel is a deep backbend, not a beginner pose. Learn it with a teacher before practising it alone.
- Back, neck, shoulder or wrist injury: do not attempt wheel; stay with bridge.
- High blood pressure, heart conditions, glaucoma, pregnancy: ask a health professional; deep backbends and the effort of pressing up are usually not advised.
- Keep the knees and feet parallel and hip-width; splaying the feet pinches the lower back.
- If you feel pinching in the lower back or a sharp pain anywhere, come down and stay with bridge.
- Breathe throughout; do not hold the breath to push up.
- Yoga Journal also lists low blood pressure, vertigo or dizziness, heartburn, an ear infection and eye conditions such as detached retina or recent cataract surgery as reasons to modify or avoid wheel. If your shoulders tend to dislocate, stay with bridge.
- Build wrist strength first and spread the weight evenly between both hands. The Bihar manual also says not to practice wheel when you feel generally tired.
This sequence has not yet been reviewed by a qualified teacher.
Easier alternatives
Replace wheel with a strong bridge (arms clasped under the back) or a supported bridge on a block. A middle step is the “top of the head” stage: press up halfway, rest the crown lightly on the floor with most of the weight in the hands and feet, and come down. Many teachers prefer students to stay there for weeks before straightening the arms.
If pressing up from the floor is not possible yet, Yoga Journal describes lying back over a folding chair with the feet on the floor and the hands on blocks braced against a wall, then pressing up from the chair. Blocks under the hands against a wall also help when tight shoulders or groins limit the pose. Work at the stage where you can still breathe easily, and come back to it over many weeks.