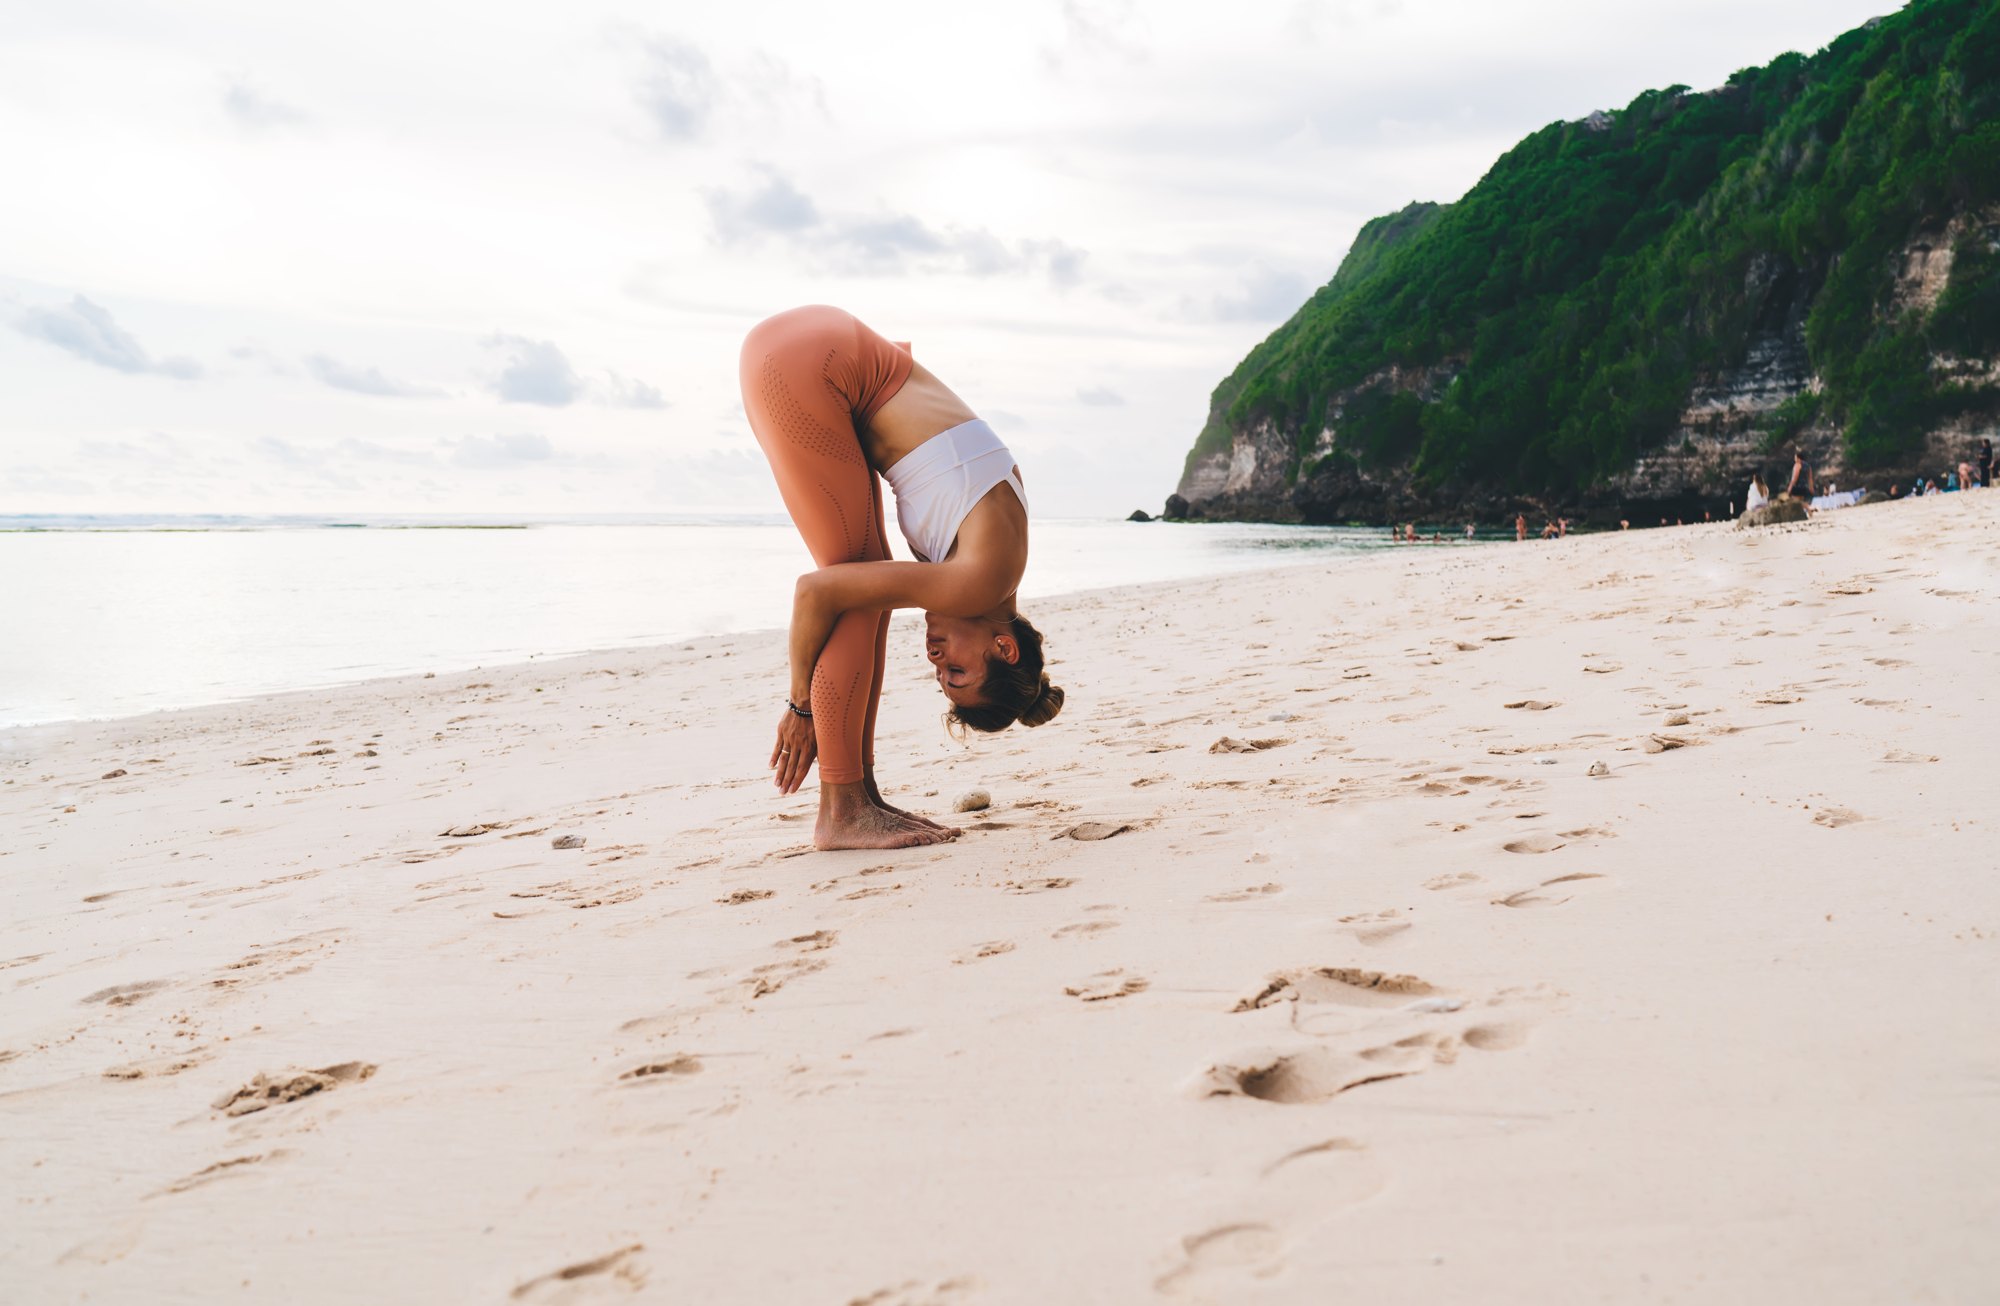
In short: hands under feet pose is a deep standing forward bend in which you slide the palms under the soles of the feet, toes toward the wrists, and use that grip to draw the trunk down along the legs. It is a stronger stretch for the backs of the legs and the wrists than the ordinary forward fold. Bend the knees generously while you learn it, and keep the spine long rather than pulling yourself down.
The pose is easy to describe and easy to confuse with others of a similar name. Below we sort out the naming first, then cover the cues, precautions and where the pose is taught.
The name: one word, two poses
The Sanskrit name is Pādahastāsana: pāda is the foot and hasta the hand. Light on Yoga describes it as bending forward and standing on one’s hands: the palms go under the soles. B.K.S. Iyengar rates it Six*, harder than the big toe fold that precedes it, and the Ashtanga standing sequence also opens with Padangusthasana followed by Padahastasana. Yoga Journal describes the same shape, sometimes called gorilla pose in modern classes.
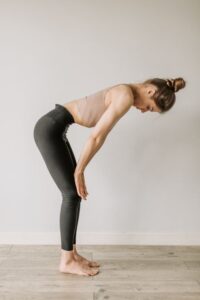
The Bihar School of Yoga, the Sivananda centres and India’s Common Yoga Protocol use Padahastasana or Pada Hastasana for a plain standing forward bend instead, with the hands on the floor beside or in front of the feet, for example as position 3 of the 12-position sun salutation. That shape is our standing forward fold. If a class says “Padahastasana”, check which one is meant.
Making the pose work
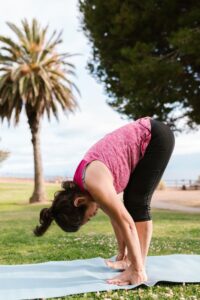
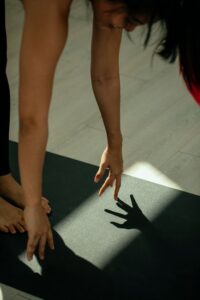
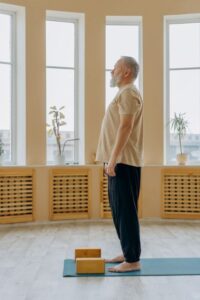
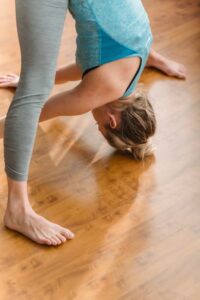
Stand with the feet about hip-width apart (Iyengar says a foot apart), fold forward with bent knees, and slide the hands under the feet, palms up, so the toes reach toward the wrist creases. With the hands in place, inhale and lift the head and chest to make the back long and slightly concave, as Iyengar describes for the first stage. Then exhale, bend the elbows out to the sides and fold the trunk down along the legs, drawing the head toward the knees only as far as the spine stays long.
Keep the weight forward over the balls of the feet and the hips over the heels. The grip is not for yanking yourself down: use it to lengthen, and let the hamstrings release with the breath. Iyengar holds about 20 seconds; Ashtanga five breaths.
How to get the hands under the feet
Getting the hands into place is the first hurdle. Fold forward with the knees bent as much as you need, lift one foot, slide the hand under it palm up, and put the foot back down; then do the other side. The toes reach toward the wrist creases. Iyengar’s text keeps the knees straight here, but bent knees are the kinder choice while the hamstrings are tight, and you can straighten them gradually once the hands are set.
The pose then has two clear stages, and it is worth staying in the first for a while before moving on. In Light on Yoga, stage one is the head up and the back as concave as possible, legs firm, for a few breaths. Stage two is the fold: on an exhale, bend the elbows out to the sides and draw the head down between the knees by pulling the feet up against the palms. To come out, Iyengar reverses the order: inhale, lift the head back to the concave stage and take two breaths there, then inhale and stand up.
Common mistakes
- Pulling with the arms so the back rounds: use the grip to lengthen first, then fold.
- Weight sinking back into the heels: keep the hips over the heels and lean slightly toward the balls of the feet.
- Rushing past the concave-back stage: it is where the length of the spine is built, and Iyengar’s text treats it as the safer stage for the back.
- Coming up fast: lift the head first, pause, then rise, so you do not feel lightheaded.
In Iyengar’s beginners’ course, this pose arrives only in weeks 11 and 12, after many weeks of the easier standing poses, which is a good hint about its difficulty. If your wrists object, the big toe version just before it gives most of the same stretch.
Precautions in plain words
Standing on the hands bends the wrists back under load: skip it with wrist pain or carpal tunnel problems, and use big toe pose or a strap instead. Light on Yoga warns that with a displaced disc you should not bring the head toward the knees, and advises learning the concave-back stage with a teacher. The usual head-down cautions apply: avoid it with glaucoma or detached retina, uncontrolled blood pressure or dizziness, and come up slowly. With a hamstring tear or sciatica, choose a bent-knee forward fold.
Preparation and what comes next
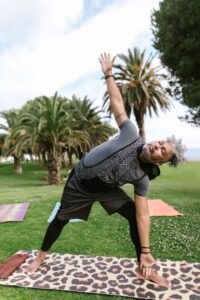
Prepare with standing forward fold, half standing forward fold and big toe pose, which comes just before it in the Ashtanga sequence. Afterwards, rise slowly to mountain pose. The standing sequence continues with triangle.
Where it is taught
In this hands-under-feet form it belongs to Iyengar yoga and the Ashtanga standing sequence, and it appears in some vinyasa classes as gorilla pose.